Archive

Uncategorized

Laser Cut Business Cards and Holder:
On Wednesday this week, Georgia Tech hosted the Atlanta MIT Business and Enterprise Forum: 3D Printing Startup Alley. I was was invited to set up a booth and represent the GaTech Invention at the event. Midday on Tuesday I realized I had no business cards for networking at the event so I set about fabricating some.

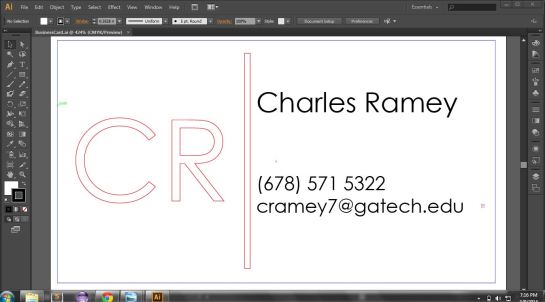
I began by designing the cards in Abode Illustrator:

Red lines are meant to be cut and black fonts are to be engraved.

Red lines are meant to be cut and black fonts are to be engraved.

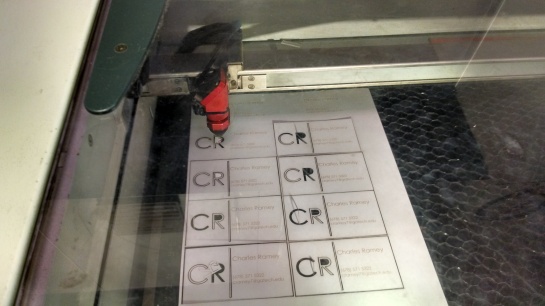
Then I loaded card stock into the laser engraver, set the correct power settings for cutting and engraving, focused the lens, and pressed go! On our Trotec 40 watt engraver, I used cut settings Power:60 Speed:40 and engrave settings of Power:15 Speed: 60.

Cutting the cards on our Trotec 40watt laser

Cutting the cards on our Trotec 40watt laser

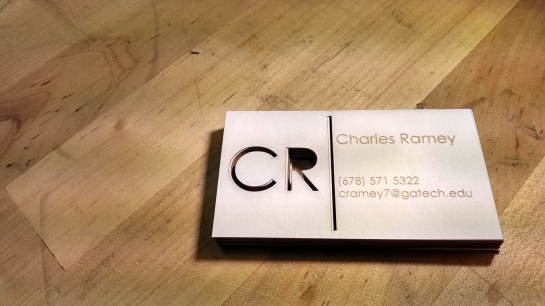
Although a bit flimsy, the finished cards came out much better than I expected.

Lasercut business cards made from cardstock.

Lasercut business cards made from cardstock.

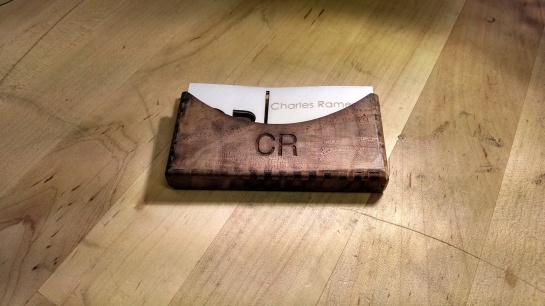
Finally, I used makercase (www.makercase.com/) to quickly design a card holder. I modified the makercase designs slightly using inkscape, loaded a 1mm thick plank of Black Walnut into the Trotec 40watt laser, and proceeded use the laser to cut the shapes out. After some assembly, gluing, and sanding the box came out to look like pretty great.

Black walnut card holder.

Black walnut card holder.

Guy Manuel Helmet:
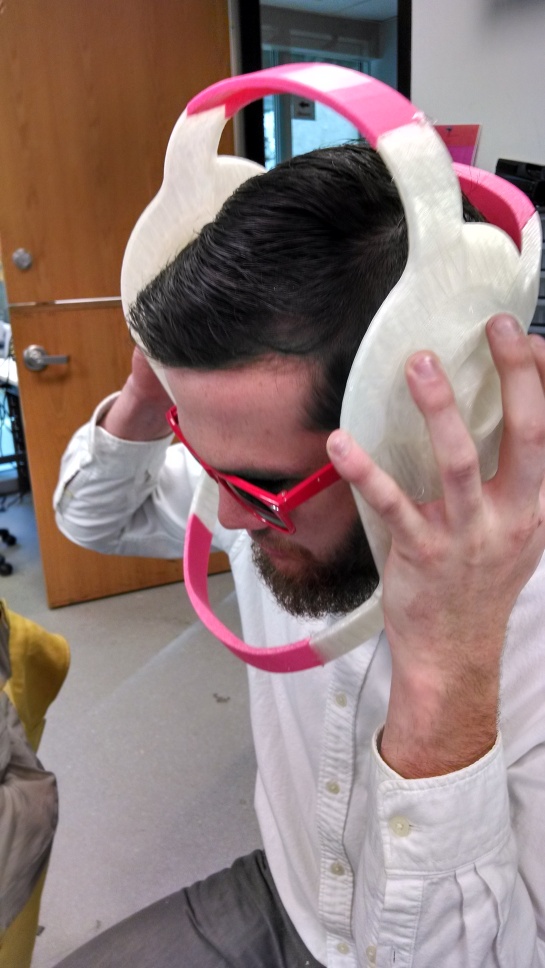
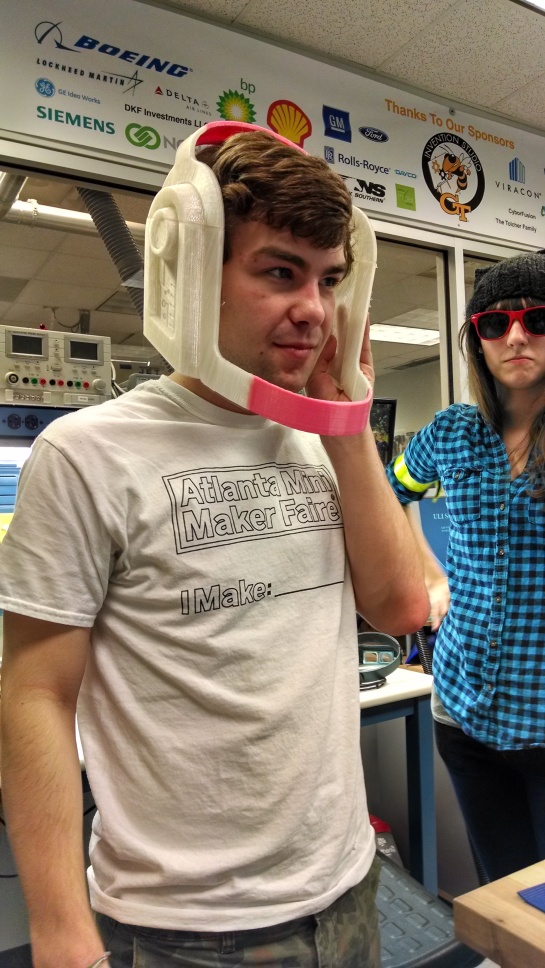
A friend and I are planning on going to DragonCon dressed as Daft Punk this year so naturally, we will require some custom made Daft Punk helmets. I am now on my third helmet prototype and I think this one will be the one I end up wearing around. I used Netfabb Basic to slice a SolidWorks design of the Guy-Manuel helmet up into 11 printable pieces. Over three days, I used the Invention Studio’s new Flash Forge Creator Printer to print all of the pieces. On Wednesday afternoon I glued all of the pieces together and took some test fit pictures. When I get some free time, I’ll post the design files on Thingiverse.

My friend Josh trying the helmet on.

My friend Josh trying the helmet on.


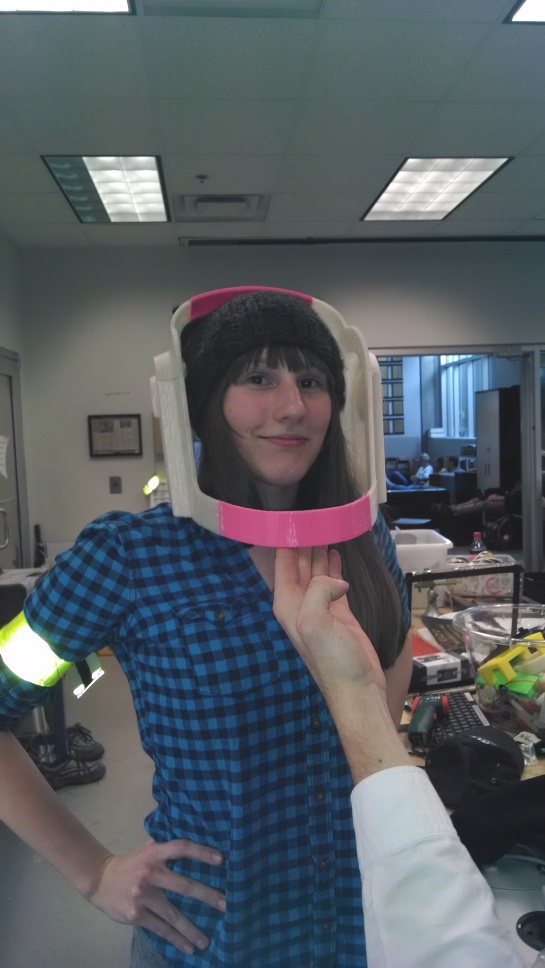
My friend Kara decided she wanted to try the helmet on as well.

My friend Kara decided she wanted to try the helmet on as well.


Kara looks cool with the red google sunglasses in the background.

Kara looks cool with the red google sunglasses in the background.

Gruyère, egg, and asparagus grilled cheese:
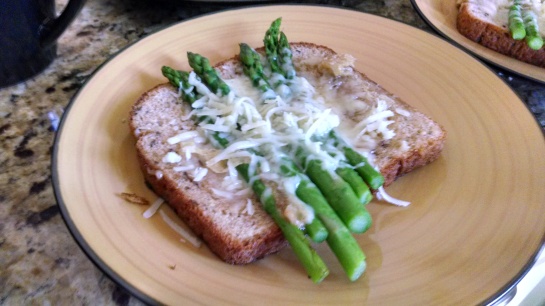
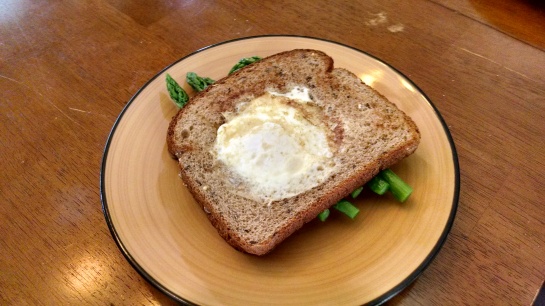
I had a bit of free time today so I decided to put my cooking skills to the test. Having recently learned about an awesome grilled cheese recipe, I went to publix and bought gruyere cheese, fresh asparagus, and 12 grain bread. I started by blanching the asparagus. Next I buttered all of the bread slices and grated the block of cheese. I then put cheese on four pieces of the bread and then laid about six pieces of asparagus on each piece ontop of the cheese. All of the pieces were placed onto the griddle until the cheese was melted. The last step was making four slices of “egg in a basket” (a fried egg inside of a piece of beard), on the griddle. Each of the egg in a basket pieces of bread were combined with a slice of asparagus and gruyere bread, plated, and then served. My family and I all really enjoyed them.
A slice of 12 grain toast with melted gruyere and asparagus

A slice of 12 grain toast with melted gruyere and asparagus


One of the four finished sandwiches.

One of the four finished sandwiches.

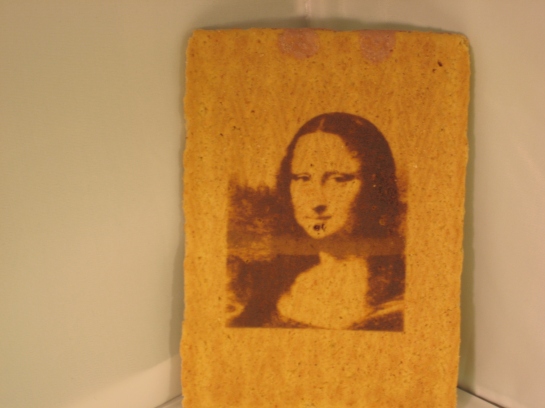
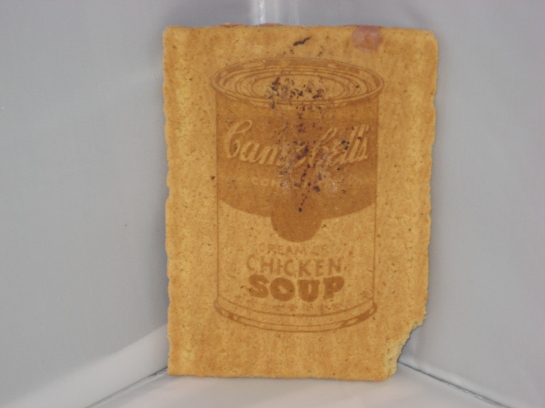
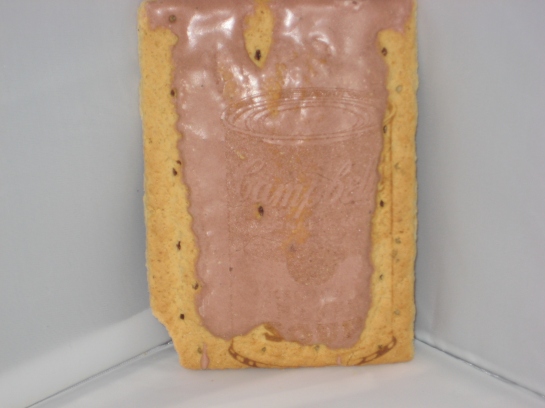
A few weeks ago, Snowpocalypse 2k14 hit Atlanta. Along with the snow came gratuitous amounts of free time so what other choice could I make than to laser engrave the Mona Lisa into some S’Mores PopTarts?!

I made use one of the three Trotec Laser Engravers at the Georgia Tech Invention Studio to do the deed. First, I downloaded the high-res image files from Google Images. Then the images were taken into GIMP where they were converted into lots of little black dots so they would play nice with the laser. For a technical description of this process, please reference Aaron Fan’s engraving with .

Finally, I used a test pop-tart (or rather a test-tart) to hone in the proper settings for engraving.

Here are a few of my first results:

S'Mores flavored Mona Lisa

S’Mores flavored Mona Lisa

Mona Lisa Back

Mmmmm tastes like .....S'Mores?

Mmmmm tastes like …..S’Mores?

Didn't engrave very well on the icing

Didn’t engrave very well on the icing

Expect more next time I have a bit of spare time. Any requests?

-Chad

I finally had some time to sit down and finish the code for my DIY Segway or “ChadWay” as it has been named around the Invention Studio. This code is developed for an Arduino Uno and uses the servo library to send motor drive commands to a Sabertooth 2×25 motor controller.  I commented almost every line so it should be pretty easy to understand. If you have any questions, feel free to ask!

-Chad

#include <Servo.h> //includes the servo library in the code
#include <Wire.h>  //includes the servo library in the code 
#include <FreeSixIMU.h> //includes the servo library in the code
#include <FIMU_ADXL345.h> //includes the servo library in the code
#include <FIMU_ITG3200.h> //includes the servo library in the code
#define KP 0.5            // proportional controller gain
const int leftButtonPin = 2; //tells the arduino where the left steering button is
const int rightButtonPin = 3; //tells the arduino where the right steering button is 
int leftButtonState = 0; //creates a variable for the left switch's state to be stored to
int rightButtonState= 0; //creates a variables for the right switch's state to be stored to
Servo leftMotor;  //creates a servo instance for the left motor
Servo rightMotor; //creates a servo instance for the left motor 
float angles[3]; //creates an array for the sensor data to go in
FreeSixIMU sixDOF = FreeSixIMU();

void setup() 
{
  digitalWrite(10,LOW); //sets the pin to off
  digitalWrite(11,LOW); //sets the pin to off
  Serial.begin(9600);           // sets the serial BAUD rate
  delay(5); 
  sixDOF.init(); //initializes the sensor
  delay(5);
  pinMode(leftButtonPin, INPUT); //sets the port the button is plugged into as an input port
  pinMode(rightButtonPin, INPUT); //sets the port the button is plugged into as an input port
  Wire.begin(); //begins all the wire library stuff
  leftMotor.attach(10);          
  rightMotor.attach(11);          
  digitalWrite(10,LOW);  //sets the pin to off
  digitalWrite(11,LOW);  //sets the pin to off
}
void loop()
{
  float corrected_angles = 0.00;
  float output = 0.00;
  signed int motorL = 0;
  signed int motorR = 0;
  sixDOF.getEuler(angles); //Gets the angles array from the sensors
  corrected_angles=(angles[1]); //The angle component from the array
  corrected_angles=corrected_angles-3; //Adjusts the value to compensate for the sensor being mounted nonlevel
  output=corrected_angles*KP; //Proportional control loop
  output=output-.20; //Cleaning things up abit (a gain adjust)
  motorL=map(output,-30,30,150,30); //Maps sensor values to motor outputs
  motorR=map(output,-30,30,150,30); //Maps sensor values to motor outputs
  leftBuuttonState = digitalRead(leftButtonPin); //Reads the state of the left steering button
  rightButtonState = digitalRead(rightButtonPin); //Reads the state of the right steering button
  if(leftButtonState == HIGH) {   //If the state of the left steering button is high then tell motorL to go faster
    motorL=motorL+10;
  }
  if(rightButtonState == HIGH) {  //If the state of the left steering button is high then tell motorR to go faster
    motorR=motorR+10;
  }
  leftMotor.write(motorL);    //Writes speed value to the left motor
  rightMotor.write(motorR);   //Writes speed value to the right motor
}


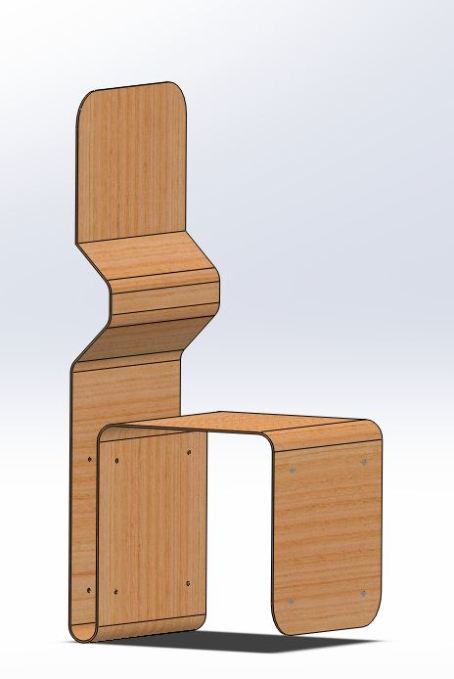
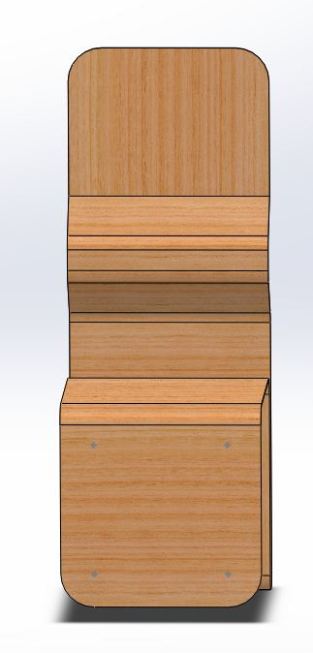
Today I discovered laser cut living hinges. For some reason the first thing I thought upon this discovery was “hmm.. this would make for an awesome chair. this awesome chair shall be called ‘das laser chair’.”

Anyways, if you have never seen or heard of living hinges (specifically the laser cut type) here are some of the links that got me started:

http://blog.makezine.com/2011/10/25/plywood-living-hinge-technique-for-laser-cutters/

On to das laser chair!

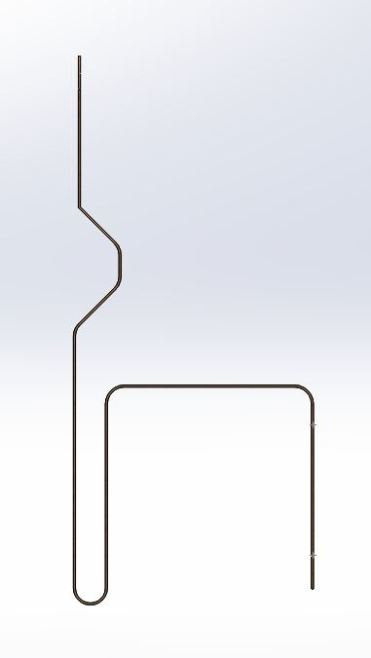
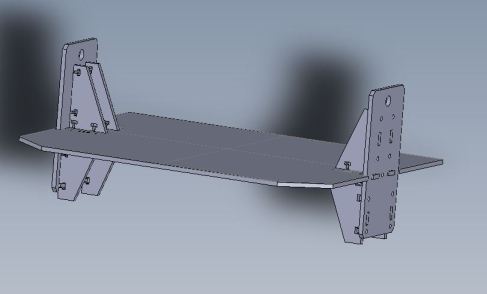
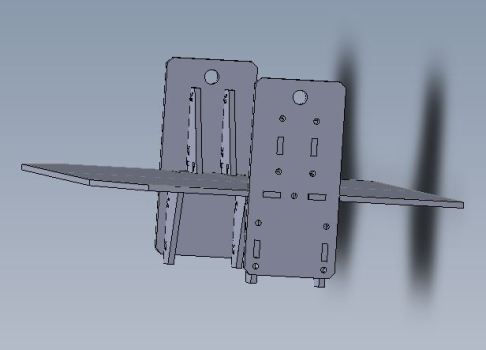
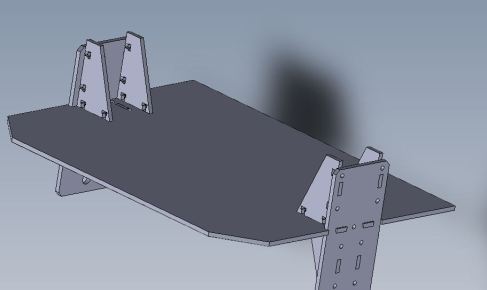
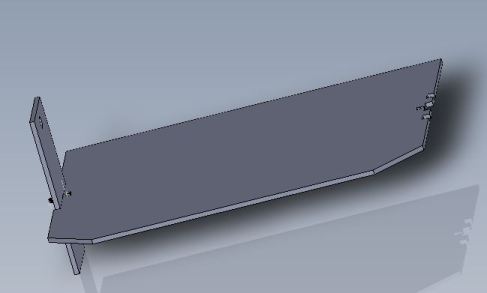
I whipped up this design in SolidWorks. The chair is still in progress; I need to smooth out the lumbar support, add the living hinges, and bolt the bottom legs together to hold everything together.

The living hinges will go where each of the bends are currently located.

ImageImageImage

As always, make sure to check back soon. I’ll keep you posted with any and all updates. Expect .dxf’s once I have the hinges in so you can make your own!

-Chad

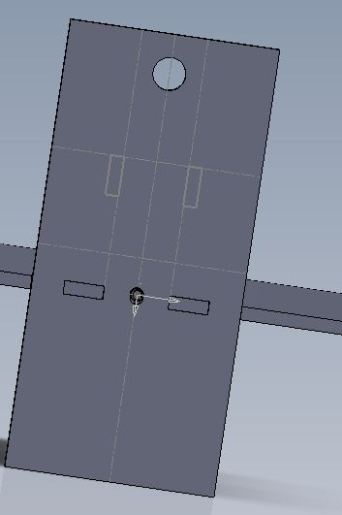
I have spent some more time in Solidworks working on the Chadway model. I am focusing on anchoring the wheel mounts so they won’t wobble or give in under the pressure of a rider on the platform. Each wheel mount has four braces attached to it plus an anchor point on the side of the platform.

Here are some pictures:

ImageImageImage

Lately, while running the reactor I’ve had to be incredibly careful while controlling the pressure of the chamber in order to keep the plasma ignited. If the pressure goes too low, there aren’t enough ions in the chamber to sustain the plasma or the fusion reaction. In order to remedy this, I have been working on throwing together a dirt simple/dirt cheap ion source.

Its loosely based off of the magnetron source designs used by Tyler Christensen and Robert Tubbs. In theory its really just an electrode surrounded by an electromagnet.

I started with a 2.75″ conflat flange with some small high voltage ceramic feedthroughs:

Then made a small filament out of stainless steel wire and attached it with some crimp connectors:


For a power supply I rectified a 9Kv NST with some 1Kv diodes that I wired up and then submerged in mineral oil to prevent arching:


Here is a picture of the whole setup mounted onto the chamber. You can kind of see the magnet coil wound around the chamber:

Finally a nice ion beam! You can see the filament over to the left:

Make sure to check back tomorrow afternoon, I’ll be posting on several new additions to the reactor setup.
-Chad Ramey

As I mentioned in one of my earlier posts yesterday, I have recently had the opportunity to tour both Vogtle and Belfonte nuclear plants. Due to security reasons pictures were a rarity but, fortunately enough, we were able to snap a few at plant Vogtle.

Steven, me, and Carl standing in front of one of the steam generator turbines.

A breif snap of the unit one control room. Notice the almost entire setup is analog.

Me, Steven, and Carl standing in front of the reactor vessel assembly station where the vessel is just starting to be welded together.


Standing inside of the massive generator room beside one of the two huge GE steam turbine generators.

Veiw of the specifications for the GE steam turbine generator.

Two large 1/2 million gallon per minute rated pumps in the foreground and the two reactor containment vessels off to the right.


Carl, me, Steven, and my dad standing in front of the construction sites for future units three and four.


Steven, me, my dad, and Carl standing between the steam generator building and the control facilities, infront of the unit one cooling tower.

-Chad Ramey